Shrink VMDK safely
Table of Contents
I recently was tasked to convert a couple physical servers to virtual machines.
The physical servers basically had 2x 500GB SSDs in a RAID1 configuration, and the total used space was around 40GB.
To optimize the storage for the virtual machines, I needed to resize the VMDK files accordingly. This process involves several steps to ensure data integrity and minimize downtime.
Here I document the steps I took to safely resize a VMDK file, without modifying the virtual machine description file (VMX).
#
Step 1: Prepare the physical server
Before starting, I did the basic preparation on the physical server:
- As always, create a full backup of the server, just in case something goes wrong
- Clean up unnecessary files to reduce the used space
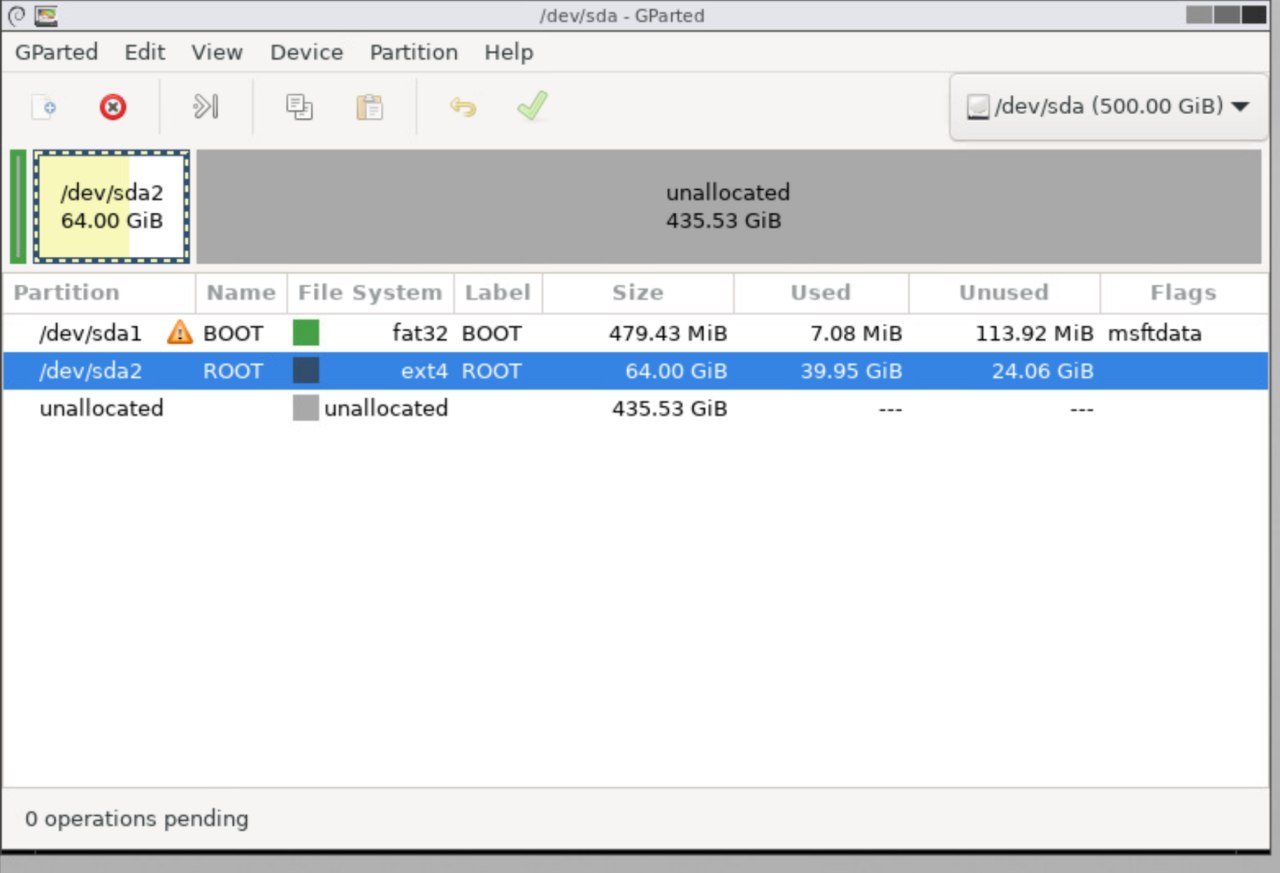
- Resize the partitions and filesystems to reduce the used space to the smallest possible size (in my case, I resized the partitions to 64GB to have some buffer space)
#
Step 2: Convert the physical server to a virtual machine
I used Clonezilla to convert the physical server to a virtual machine. This process was simply:
- Boot the physical server with the Clonezilla live CD
- Follow the wizard and choose the mode “remote-source” to send the image to a remote server
- On the target virtual machine, boot with the Clonezilla live CD and choose the mode “remote-dest” to receive the image from the physical server
- Inform the IP address of the physical server and start the process
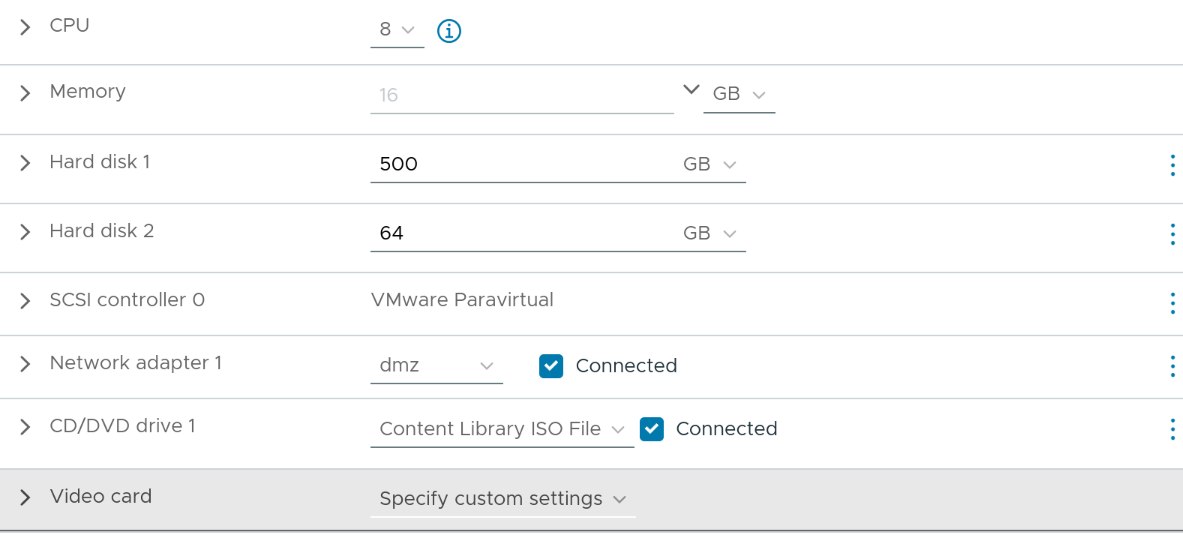
Important: In this first step, I created a VMDK file with the same size as the physical disk (in my case, 500GB).
#
Step 3: Resize the VMDK file
Now here is the tricky part, resizing the VMDK file without modifying the VMX file.
Many tutorials suggest to access the ESXi host via SSH and directly modify the VMX file using a text editor.
I found it to be very risky, as a small mistake can lead to a non-bootable virtual machine. I lost many attempts this way.
So instead, I found a method that works without modifying the VMX file:
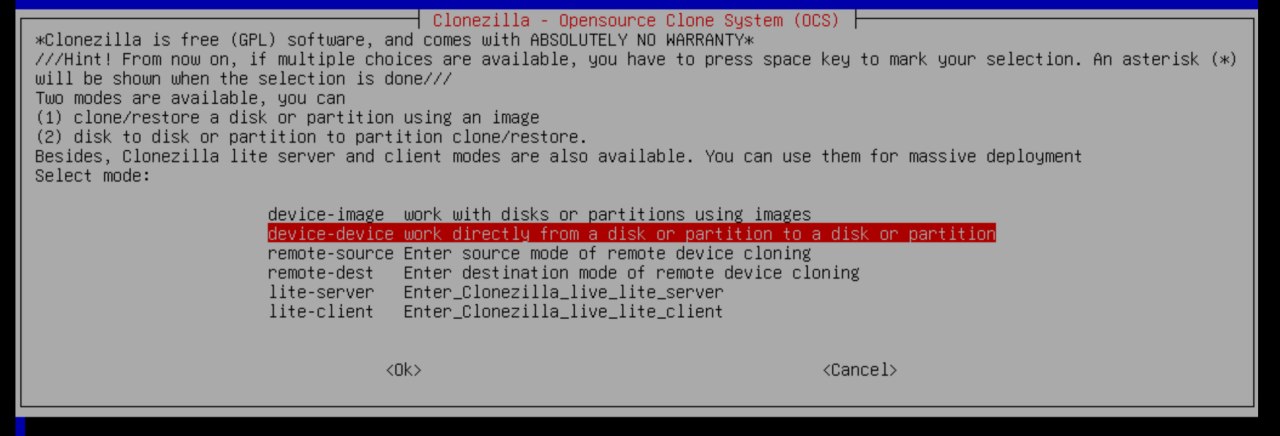
Use Clonezilla again, to clone the virtual machine to a new virtual machine with a smaller disk size.
This time we are going to use local disks, so we need to create a new virtual machine with a smaller disk size (in my case, 64GB).
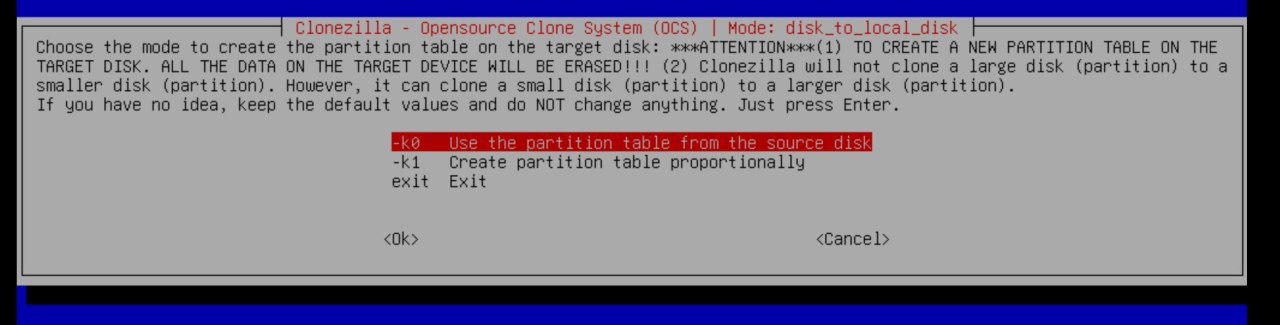
When asked about the partition table, choose the option “-k1” to keep the partition table as is.
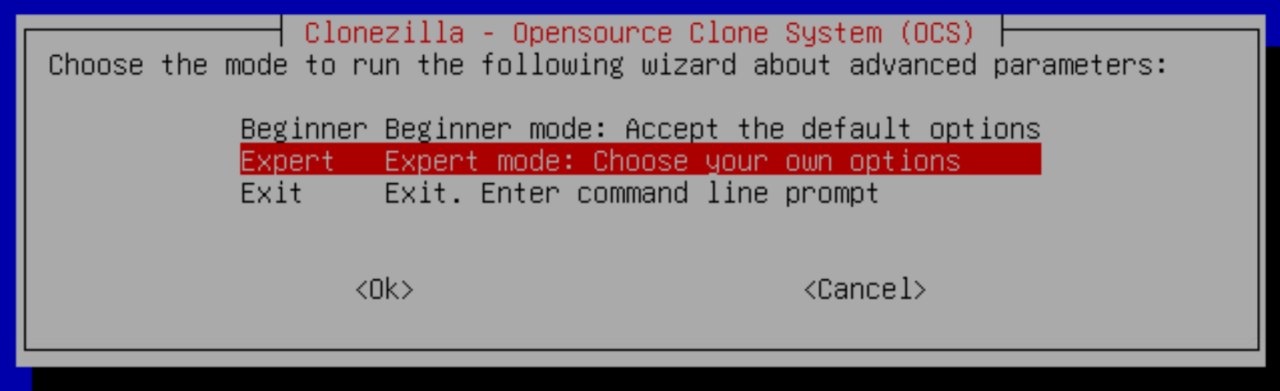
When asked about the mode, choose “Expert”
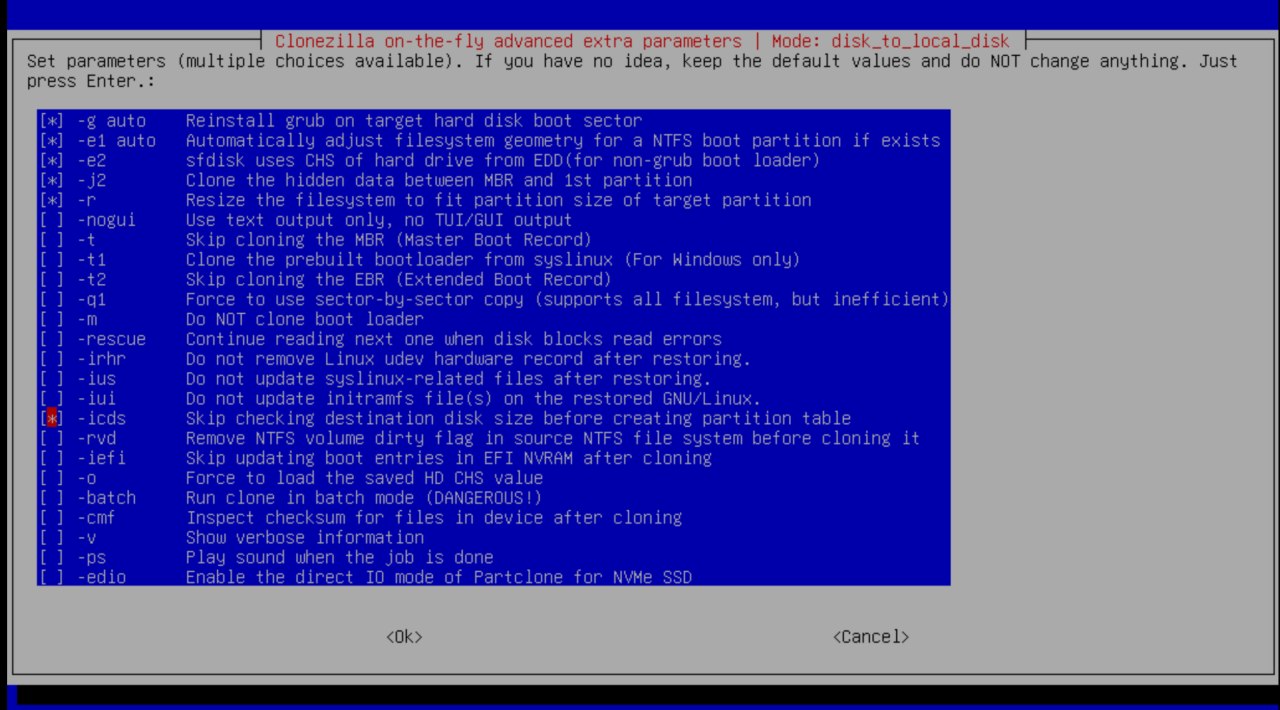
Then, enable the option “-icds” to ignore the disk size.
After following the rest of the wizard, the cloning process will start.
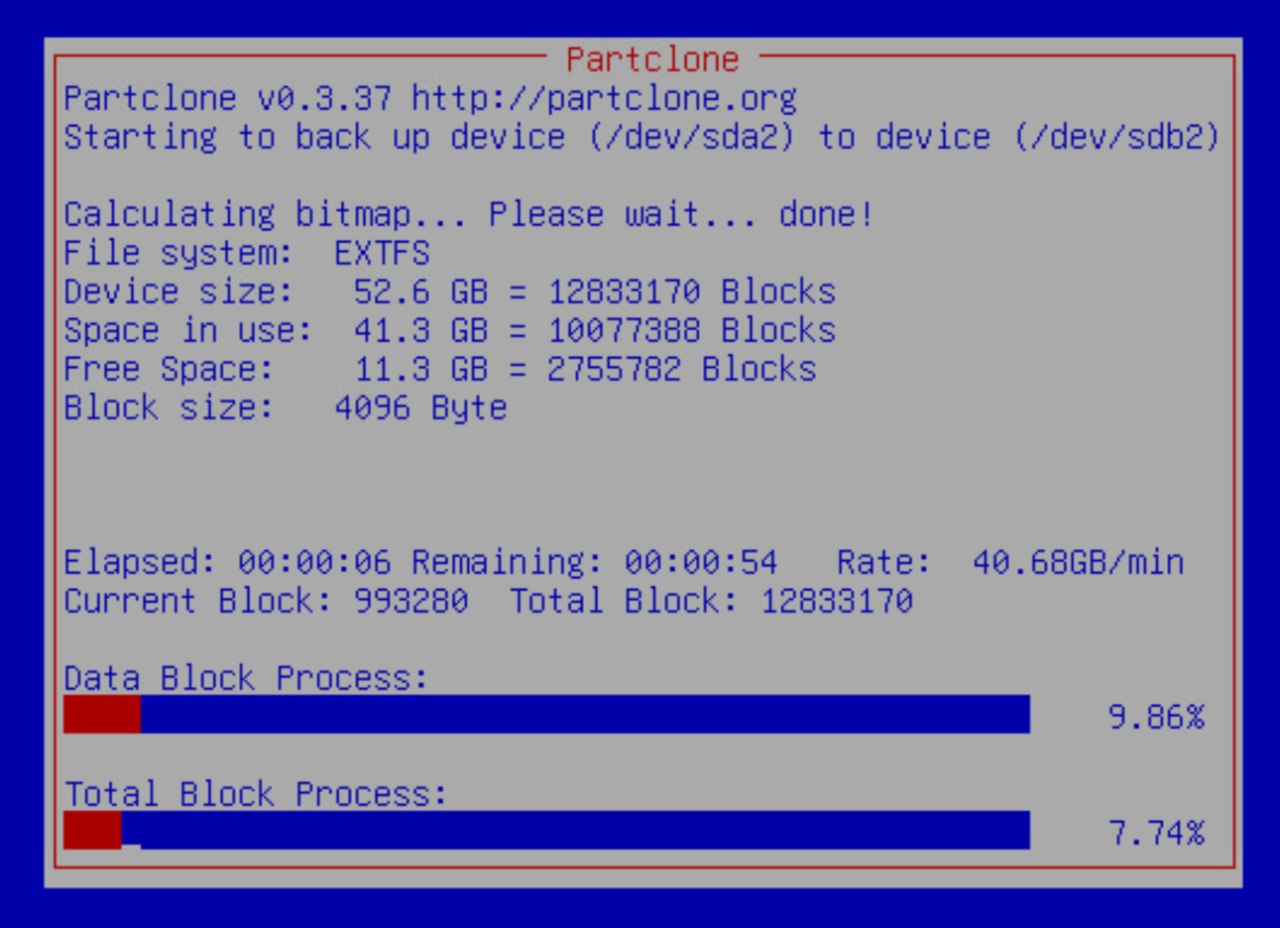
After the process is complete, you will have a new virtual machine with a smaller disk size, and the same data as the original virtual machine.
This will leave you with the original VMDK file, and a smaller one. After verifying that the new virtual machine works correctly, you can delete the original one to free up space.